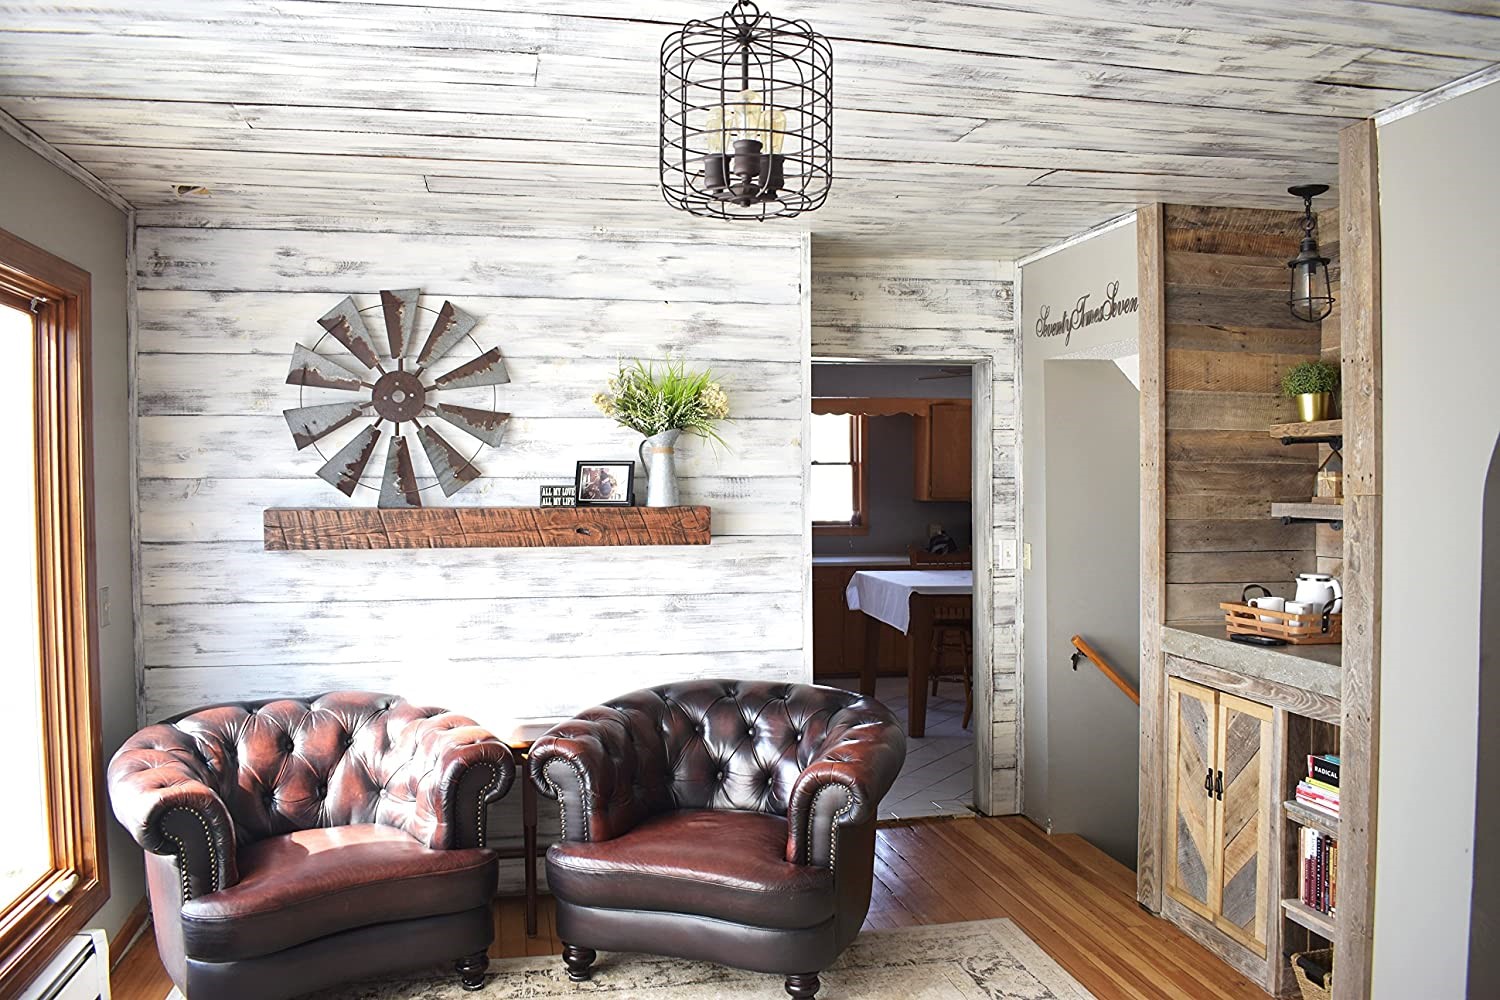
What once kept ships dry and warm now keeps our homes looking new and stylish. Shiplap was originally created to keep water and wind out of ships and homes in harsh climates. Now, shiplap is mostly used as a design element rather than fighting off the elements.
Not sure you want to commit to wallpaper? Try this new trend instead! Whether you’re looking to create a DIY shiplap accent wall or just looking for inspiration, you’ve come to the right place.
How to Install Shiplap
Here’s what you’ll need:
● Shiplap wood: ¾ in. plywood boards
● Heavy Duty Interior Adhesive
● Stud finder
● Nail gun or nails and hammer
● Carpenters Square
● Measuring tape
● Level
● Paint (optional)
First things first, find the studs in the wall. With your stud finder, mark on your wall where the middle of every stud is with a pencil. You’ll want to make marks up the whole wall.
Starting at the base of the wall, measure the length of wood you’ll need. After cutting your piece to the length needed, add lines of adhesive glue to the backside of the piece. Place it against the wall and ensure it is straight using a level. Next, using your nail gun, nail your shiplap into the studs, using your stud marks. 2 vertical nails per stud is sufficient.
Next, we will cover how to get the signature shiplap gap. Prepare your next piece of shiplap by lining the backside with adhesive. Take your carpenters square and press it to the top of the first shiplap piece. Place your second piece of shiplap and press it against the wall over the carpenter’s square. Moving the carpenter’s square horizontally along the wall, press your shiplap piece to the wall. Nail it to the wall on the studs. Repeat these steps until you’ve finished your wall!
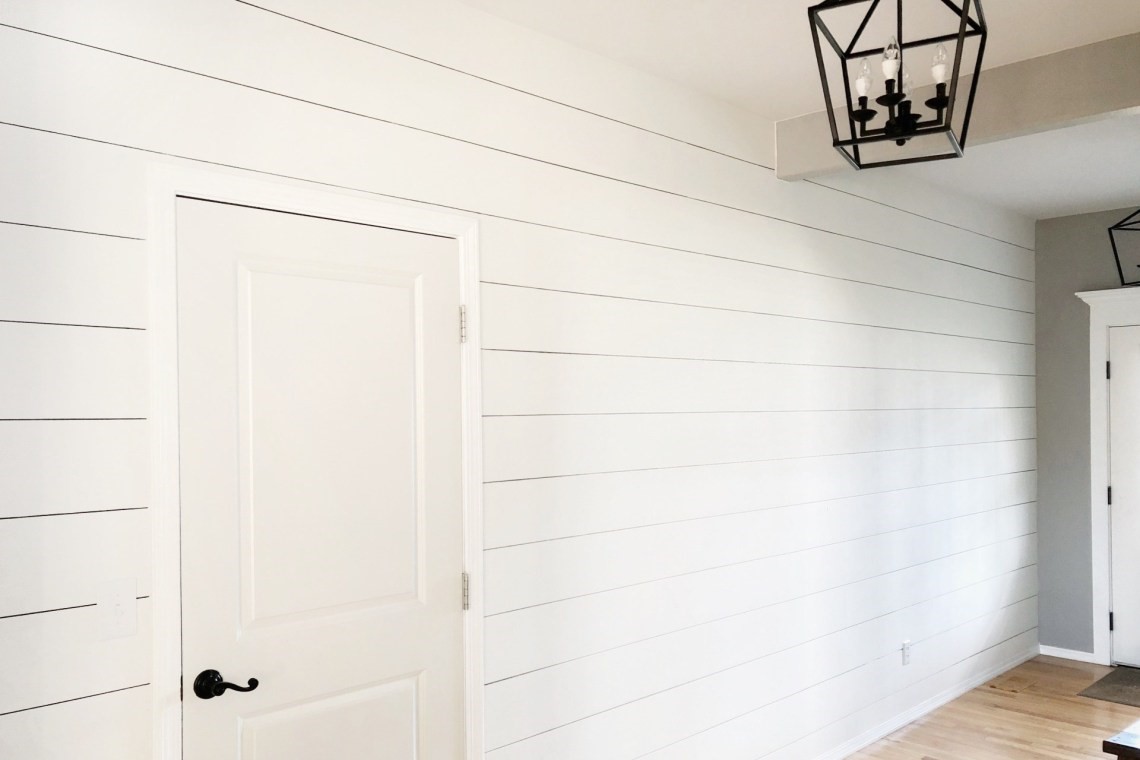
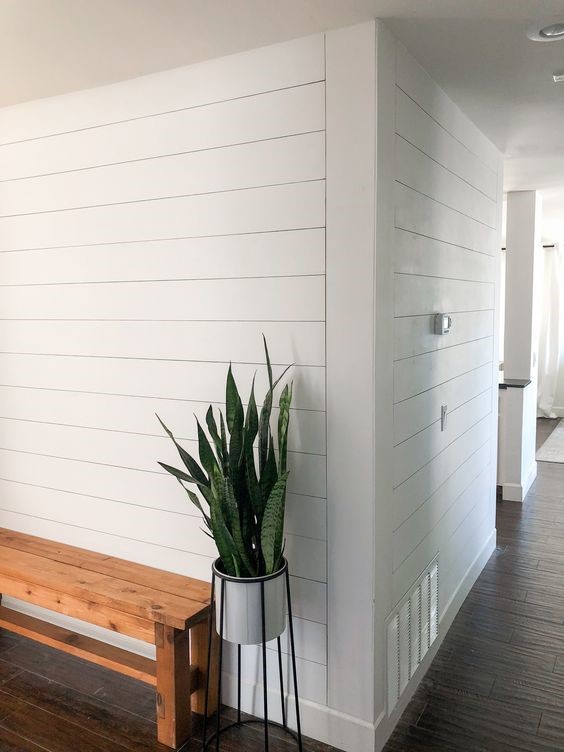
If you would like to paint your shiplap wall, be careful to not fill in the gaps between each board.
Shiplap Peel and Stick
Just like wallpaper, there is a peel and stick option of shiplap. It will not have the same effect as real shiplap, but it will be cheaper and easier to install.
Other Options
Shiplap is not just for walls, you can make a shiplap ceiling! You can also install shiplap vertically. Vertical shiplap is a great option for rooms with low ceilings, as the vertical lines make ceilings look taller. While most shiplap is white, don’t be afraid to paint or stain your wood however you’d like! Shiplap is not just for entryways, it’s great in bedrooms, kitchens, and we are huge fans of a good shiplap bathroom!